Git Install on Ubuntu/Centos/AmazonLinux/Windows
This tutorial explains Git Install on Ubuntu/Centos/AmazonLinux/Windows
Git
Git is the most commonly used Distributed Version Control System these days.
To know about ” What is Distributed Version Control System and Git ?” in more details read about – Git Tutorial for Beginners
Git Install on Ubuntu
Here is the step by step guide to Install git on ubuntu.
Step 1- Update your Ubuntu Linux box.
It is a good idea to update your System before installing Git.
$ Sudo apt-get update -y
Use the following command for Git installation on Ubuntu
Step 2- Install Git
$ sudo apt-get install git-all -y
Step 3 – Check Git Version
Check the git version using following command.
$ git – – version
Git Install on Centos/Amazon Linux
Step 1- Update your Centos/Amazon Linux Machine
It is a good idea to update your System before installing Git.
$ Sudo yum update -y
Step 2- Install Git on Centos/Amazon Linux(Amazon EC2)
Use the following command for Git installation on Centos/Amazon Linux
$ sudo apt-get install git -y
Step 3 – Check Git Version
Check the git version using the following command.
$ git version
Install git On Windows
Step 1 – Download Git from the following URL
Click to Download latest version of Git for Windows
Step 2- Double Click on the Setup file(Git Executable) and Click on NEXT
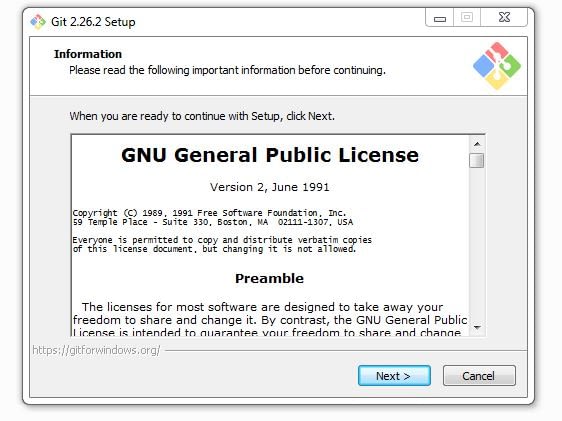
Step 2 – Click on Next.
Step 3 – Make sure to check on the following options and Click on Next.
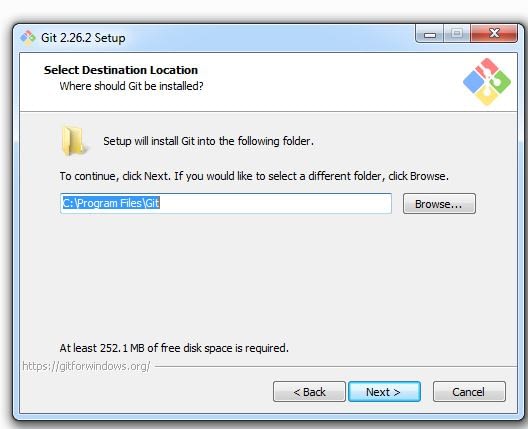
Step 4 – Click on Next
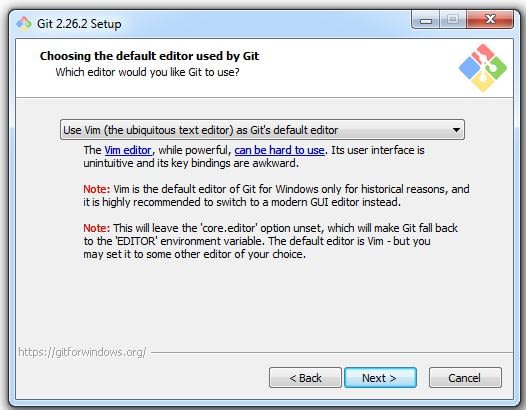
Step 5 – Choose default text editor for Git
Choose Vim Editor as default Editor. VIM editor is used in Linux( It will help in Git Bash terminal). You can also choose Notepad++ as a default editor.
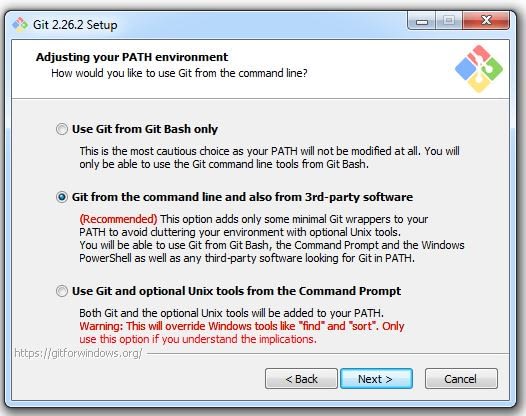
Step 6 – Choose the Second option(Recommended).
In this option, you will be able to use Git from Git Bash, CMD, Powershell, and other third-party software.
You can also choose the first option if you want to use Git from Git Bash only.
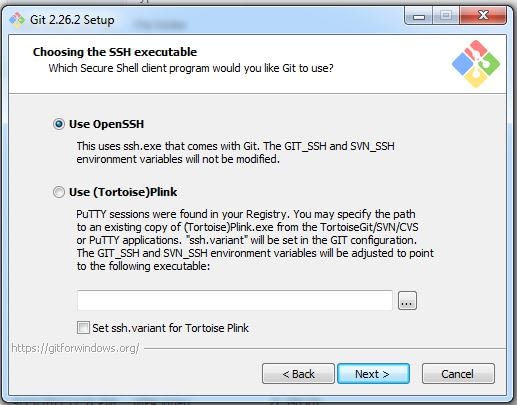
Step 7 – Use OpenSSH as SSH Client
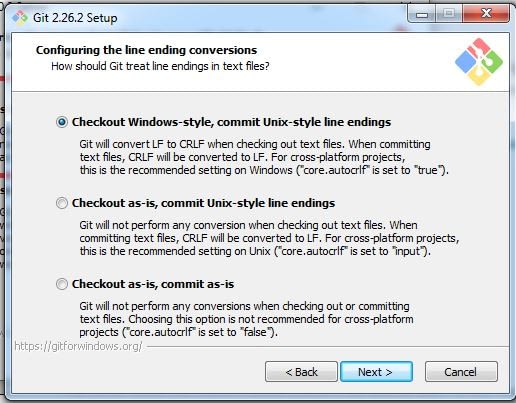
Step 8- Choose the option first for recommended settings for Windows.
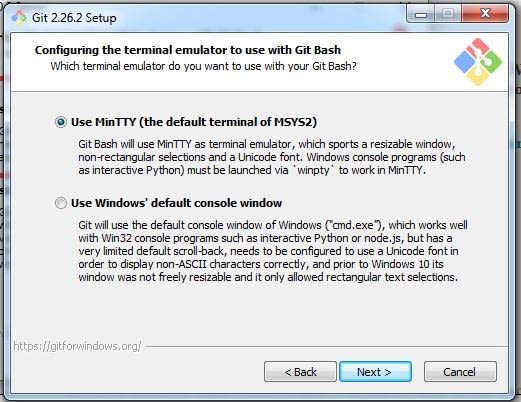
Step 9 – Choose Option Fist to use Git Bash Terminal.
Step 10- Choose both the below options and click on Next.
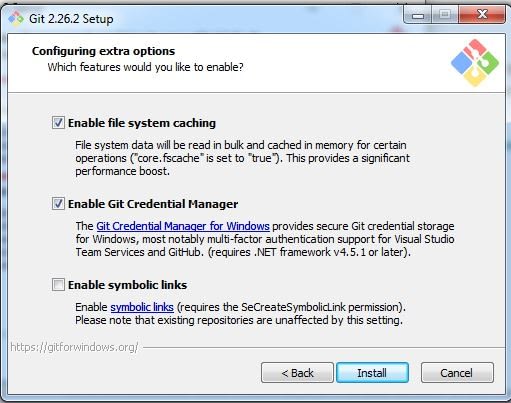
Step 11- Click on Next
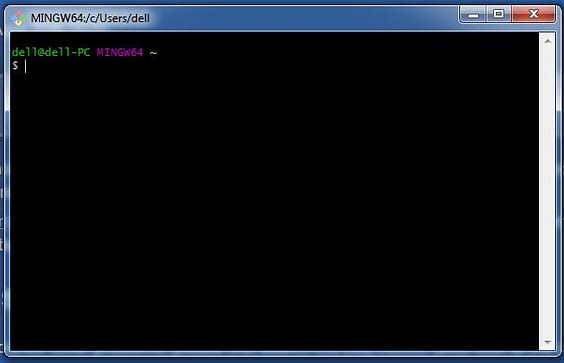
The following Bash Terminal will open as soon as Installation finish. In Bash Terminal, you can use Linux Commands/Vim Editor and Git Commands.
Read about: Git Commands for Beginners to learn some basic commands of Git.
I hope you enjoyed this tutorial and learned about “Git Install on Ubuntu/Centos/Amazon Linux(EC2)/Windows”. If you think this is really helpful, please do share this article with others as well. Please also share your valuable feedback, comment, or any query in the comment box. I will really happy to resolve your all queries any.
Thank You
If you think we have helped you or just want to support us, please consider these:-
Connect to us: Facebook | Twitter