
Amazon AMI (AWS EC2 Image Backup) and restore
This tutorial explains about Amazon AMI(AWS EC2 Image Backup) and restore.
Amazon Machine Image(AMI) is a complete image backup of an AWS EC2 Instance.It is basically a snapshot orimage taken at a particular time. We take AWS EC2 AMI for disaster recovery purposes,so that we can restore the image at the time of system failure.
AMI cannot be restored on the same EC2 Instance from which it is taken .You can create another EC2 Instance from an AMI.
In this tutorial we will learn:
1. Creating an AMI(AWS Machine Image)
2. Restoring or Launching an Machine(EC2 Instance) from AMI
Also Read : How to launch Windows Virtual Machine on AWS
&& AWS EBS Volume snapshot backup and restore
Creating an AMI(AWS Machine Image)
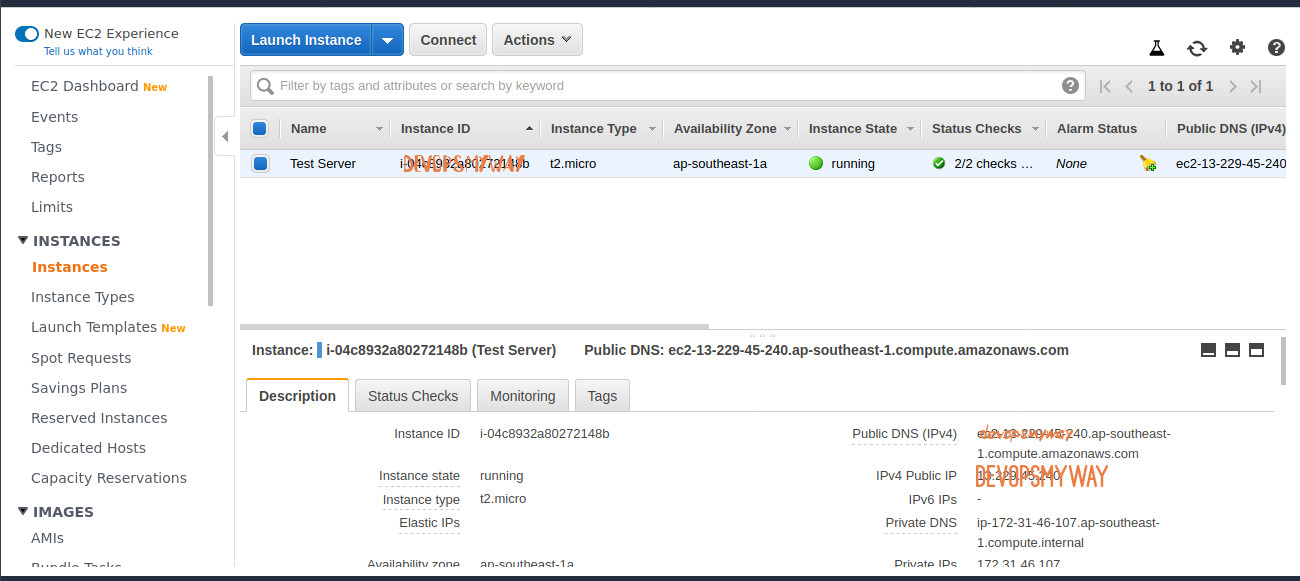
Step 1– Log in to your AWS account and navigate to Instances in EC2 service. Select the EC2 instance to be backed up.
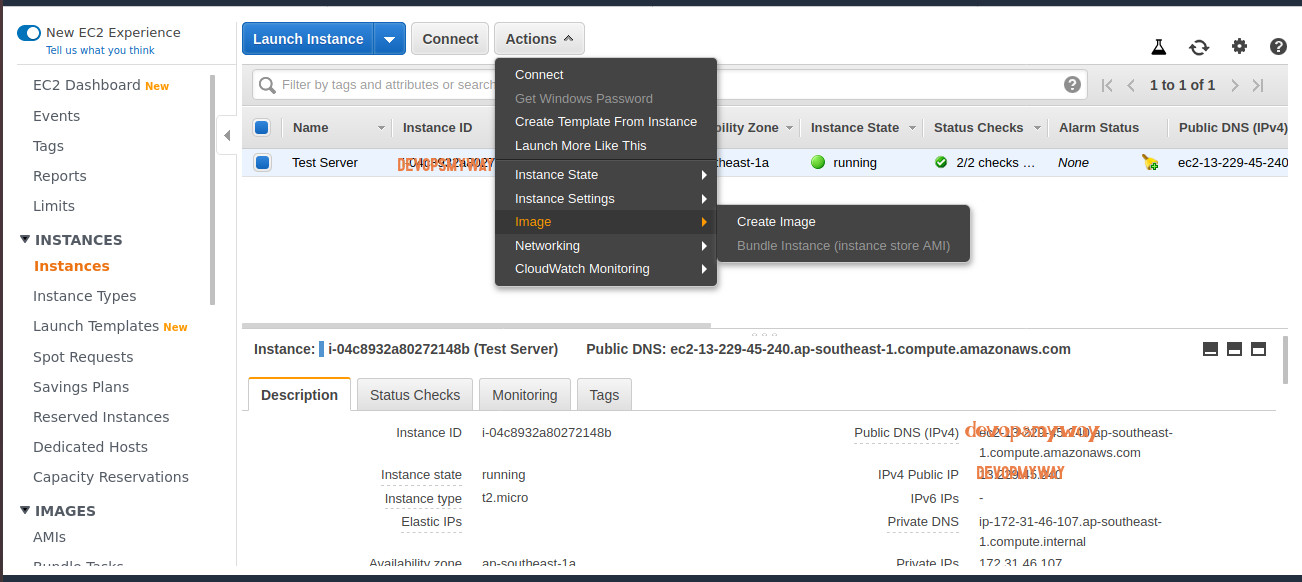
Step 2-Click on Actions , select Image and then click on Create Image.
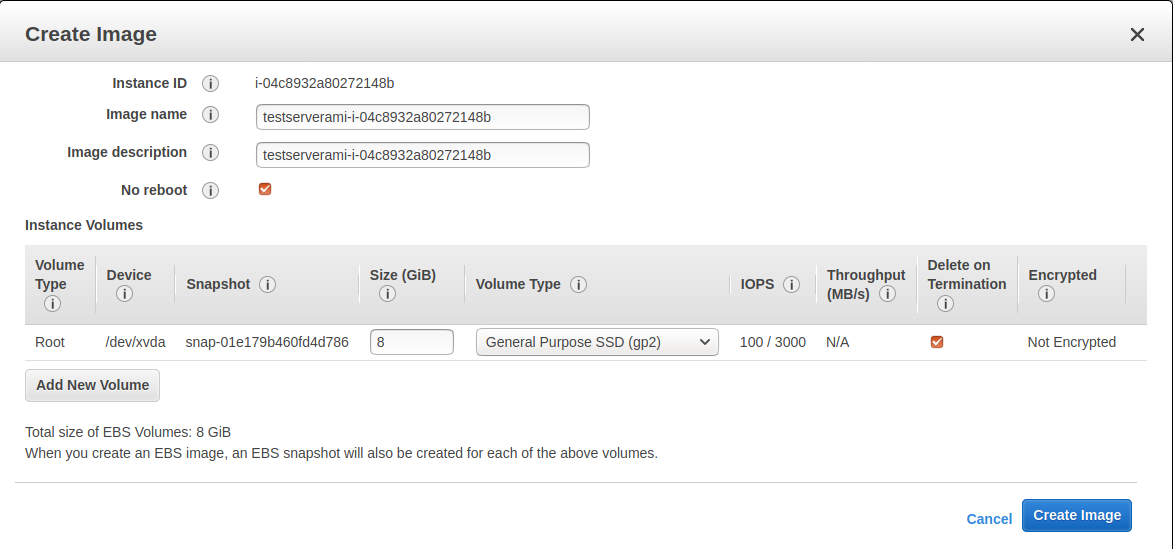
Step 3-Enter Image name , Image description and click on No reboot if you do not want to reboot your Server at the time of image creation.
Putting instance ID in the image name and image description will help you to search the AMI using Instance ID.
Step 4– The following prompt will come as soon as you click on Create Image in the above screenshot.
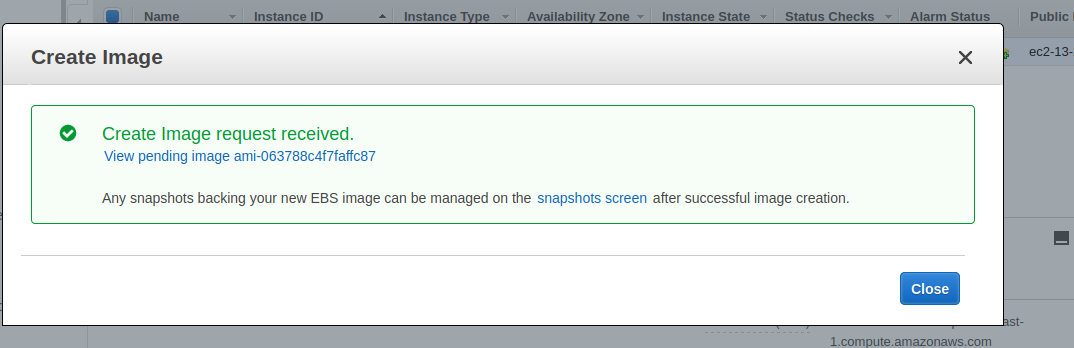
Click on ami-XXXX after view pending image will take you to the Amazon Machine Image creation progress.
Restoring a Machine(EC2 Instance) from AMI
We may require to launch an EC2 instance from an AMI when the actual sever goes down/inaccessible or if you want to see the last known good configuration at the time of AMI backup.
We cannot restore the actual server when it goes down, instead we launch a similar instance from the AMI. After launching similar instance from the AMI we can de attach the Network Interface or Elastic IP from the actual server and attach it to the new Server.
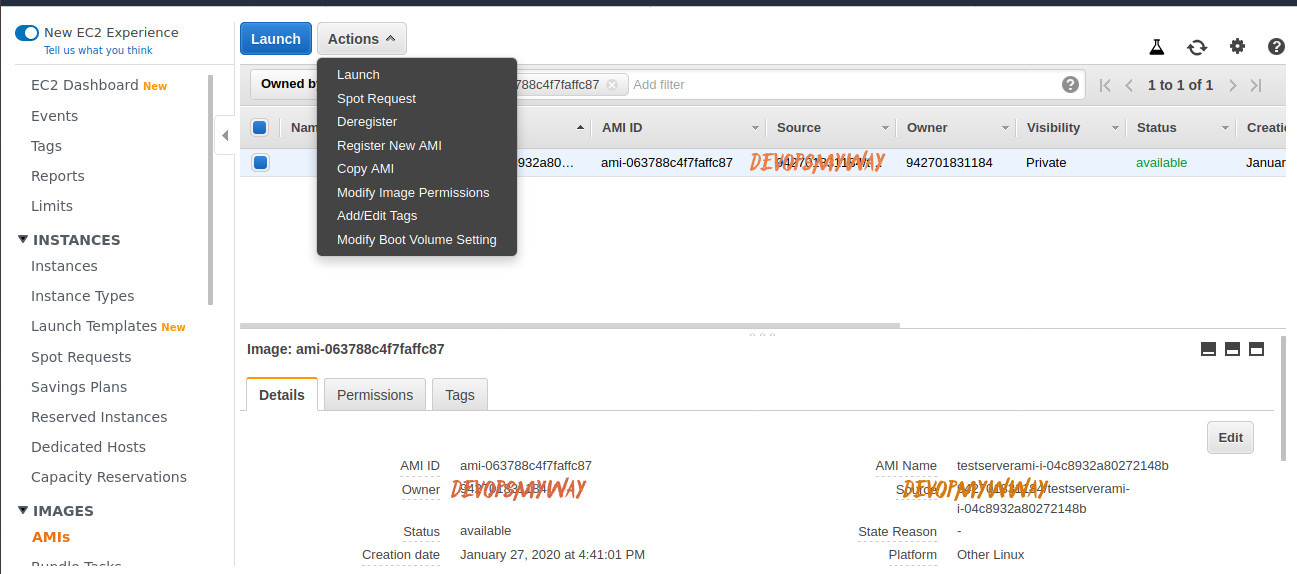
Step 1- Log in to your AWS account and navigate to AMIS tab in services. Search for the AMI that you want to launch to restore your Server and click on launch.
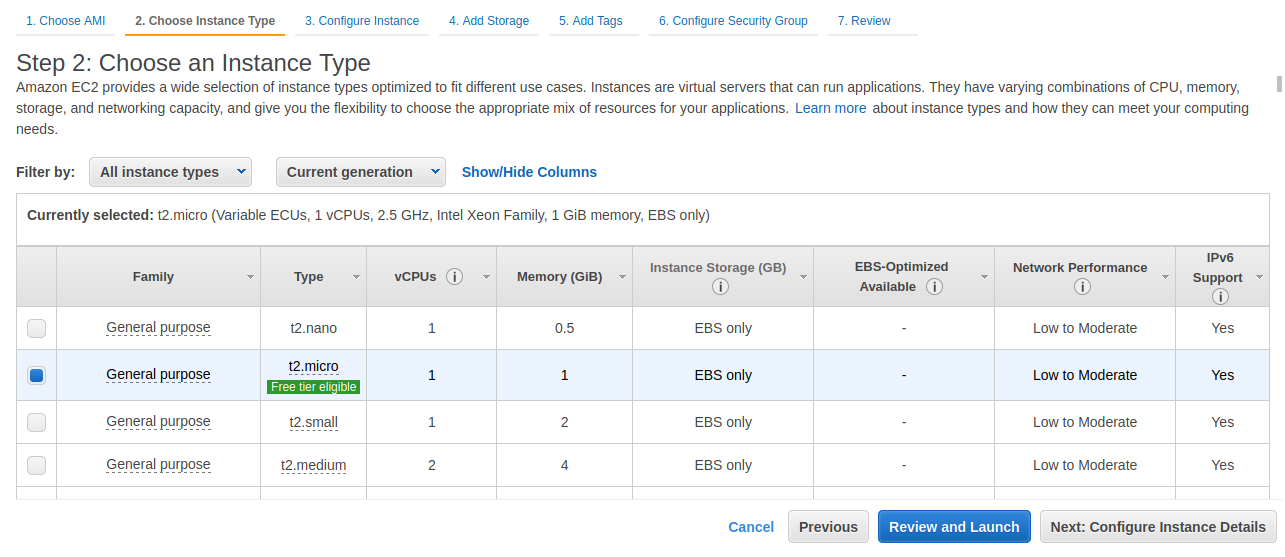
Step 2- Select the instance type. Its better to select the same instance type as of your actual server that went down.
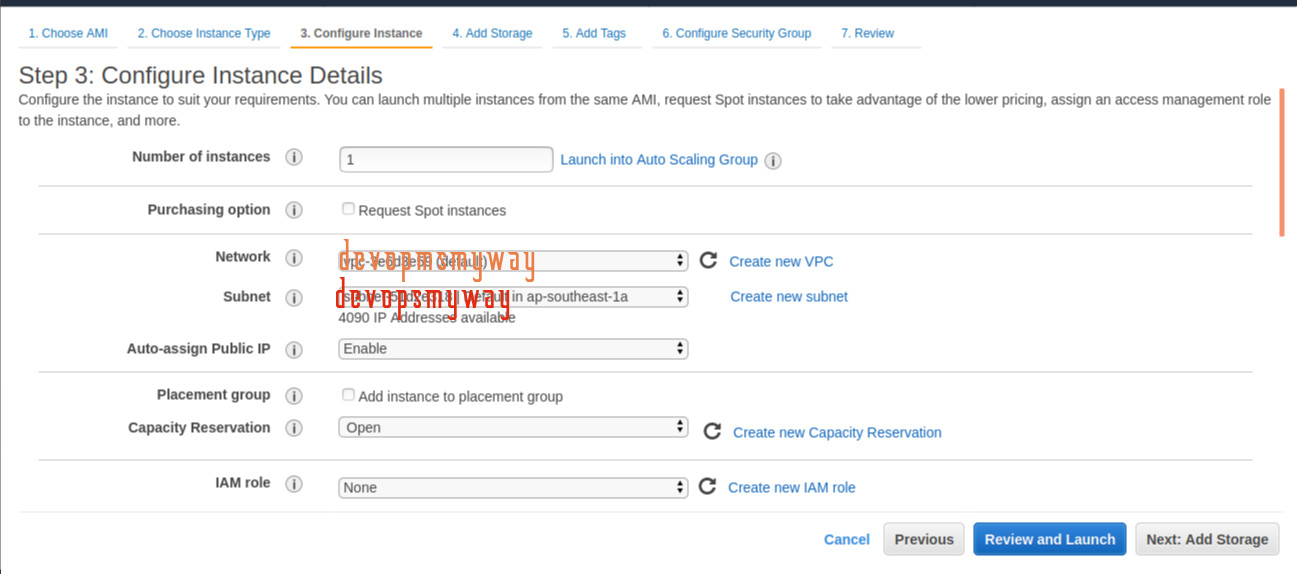
Step 3– Select the network and subnet same as actual server.
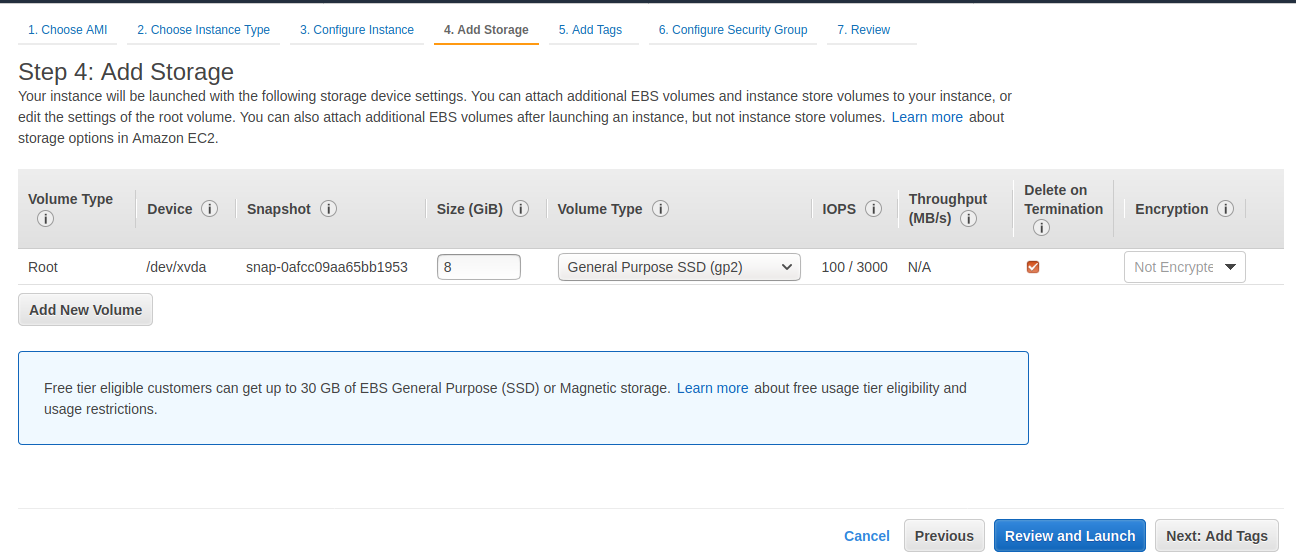
Step 4– Put the size of the storage.
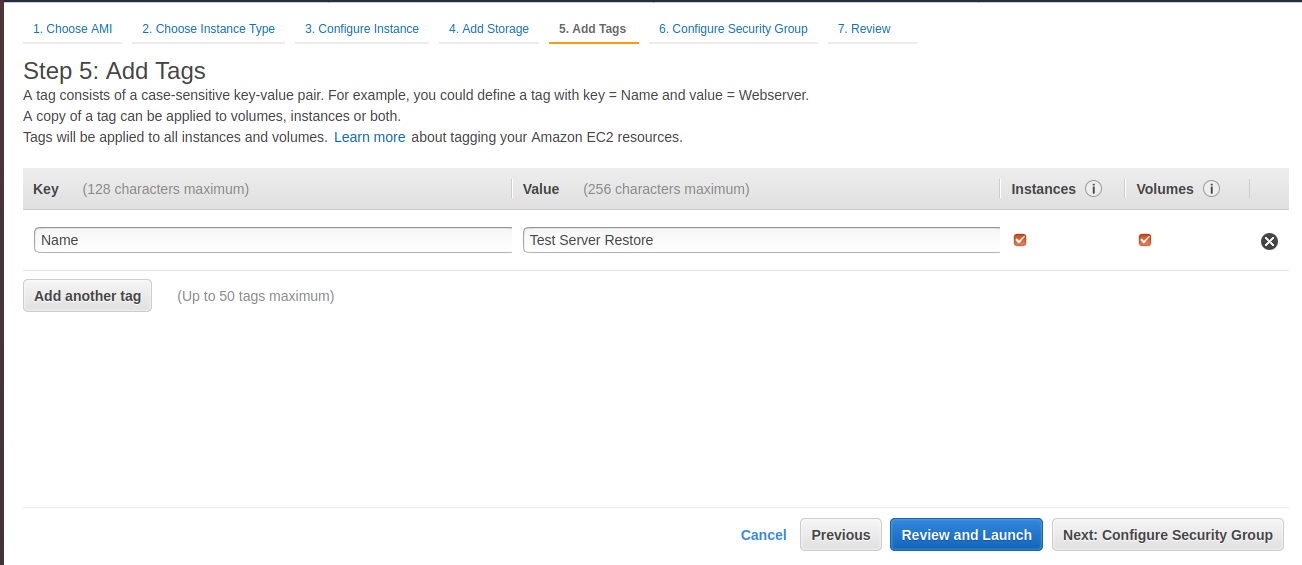
Step 5– Add Tags to name your Instance. Put name as key and your server name as value.
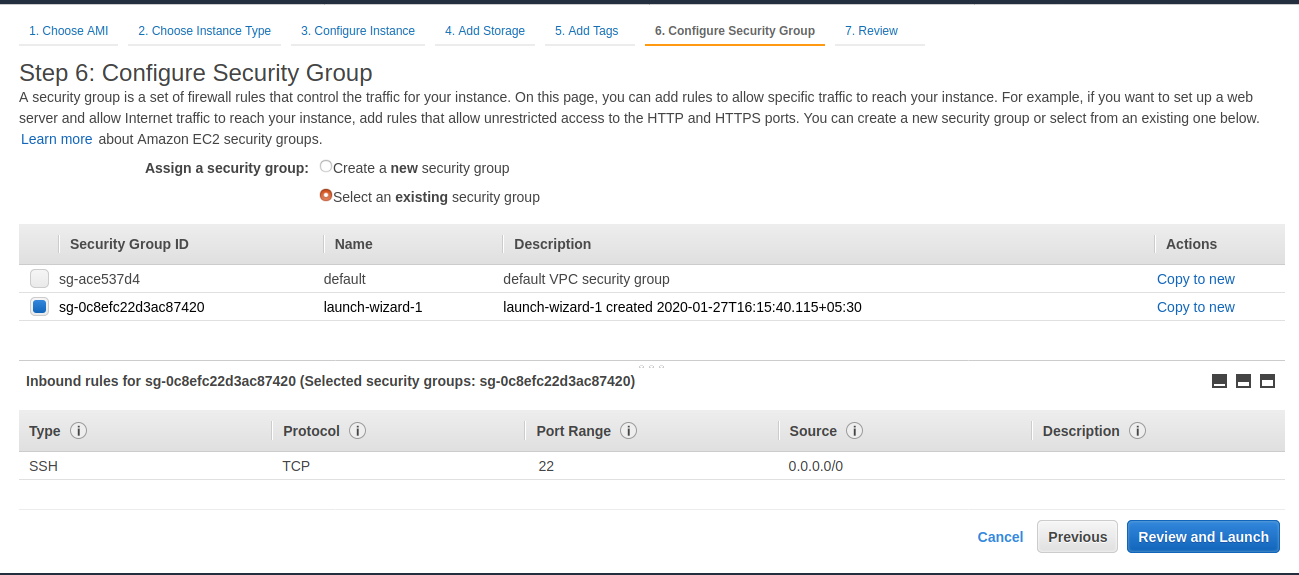
Step 6– Configure Security Group. Put the same security group as your actual server.
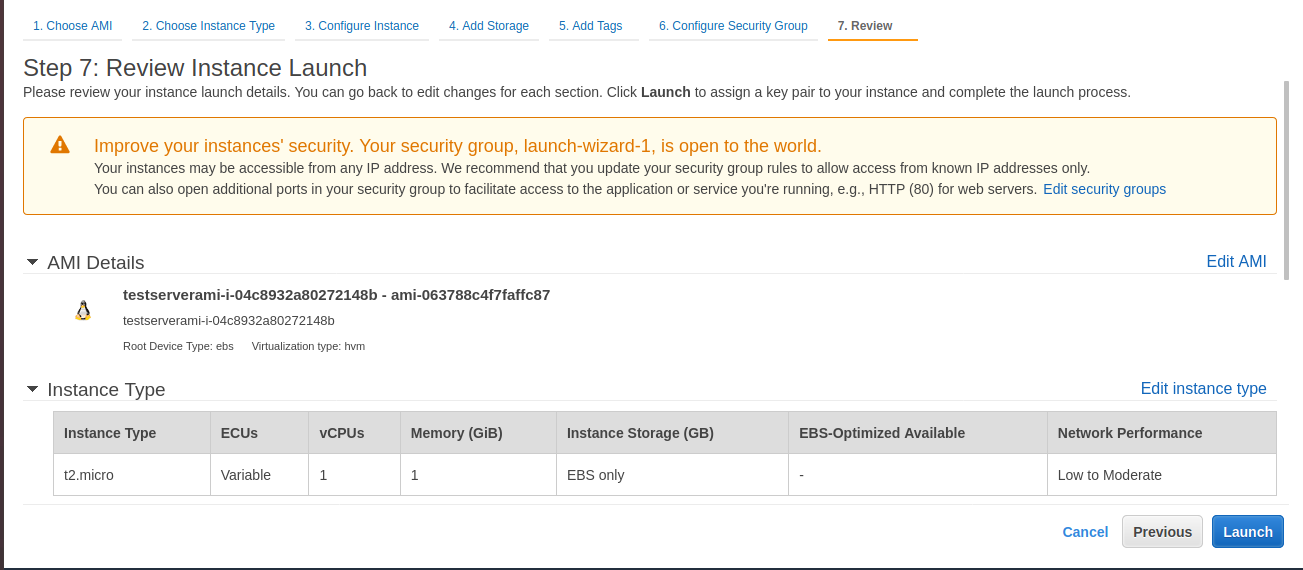
Step 7– Review and Launch Instance.
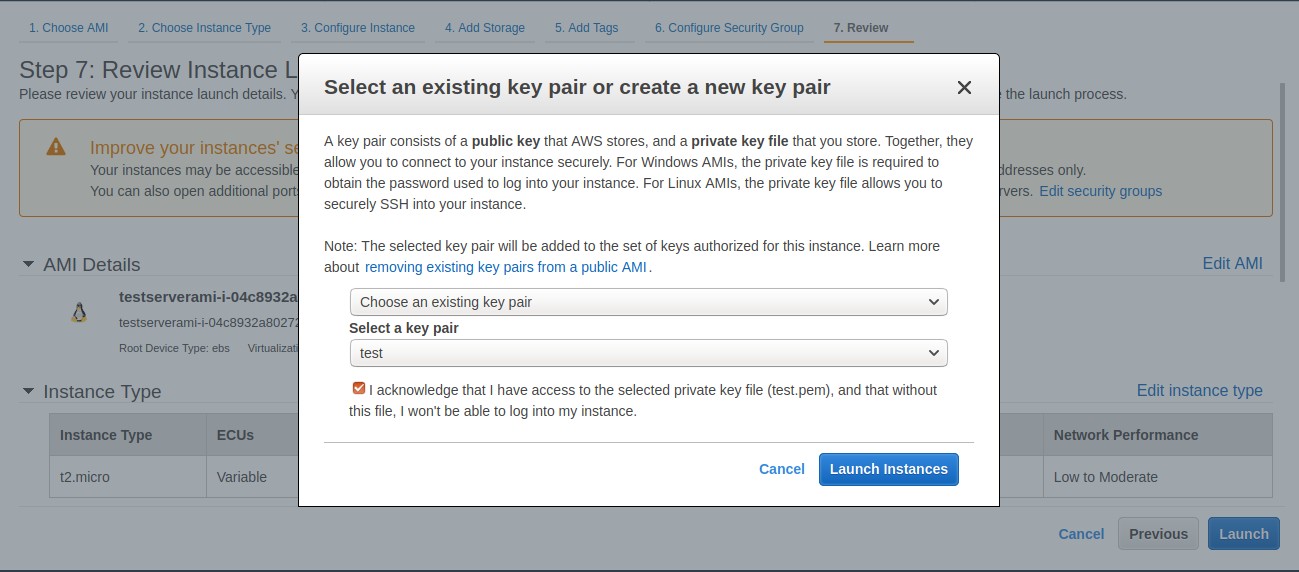
Step 8 – As soon as you click on launch the following prompt will come. You need to choose key pair so as to access your Server. If you have not key pair with you , you can create new key pair and download it .
Click on Launch Instances to launch your Server.
After Launching the Instance from image and checking everything is good on the server, you can terminate the crashed Instance and use the same Private IP in this instance as a secondary IP. Read about – Adding AWS Secondary Private IP in EC2 Instance
You also may need same Elastic IP if any in the new Instance.To know about How to detach Elastic IP from one Instance and re-attach on the another Instance read – How to attach Elastic IP to EC2 Instance in AWS
I hope you enjoyed this tutorial and learned about AWS EC2 AMI backup and restore. If you think this is really helpful, please do share my website https://devopsmyway.com to others as well. Also, please give your valuable feedback in the comment box.
If you think we helped you or just want to support us, please consider these:-
Connect to us: Facebook | Twitter


missing all the details on switching ips etc
Dear Hahndav,
Thanks for your reply , I will add the same. If you need any help/support please do let me know.