
Windows VM on AWS-How to launch ?
This tutorial explains how to launch Windows VM on AWS.
Let us start to learn, how to launch a Windows Server Virtual Machine on AWS. AWS (Amazon Web Services, a leading Cloud Service Provider allows you to create a Virtual Machine in their Infrastructure. However, it costs through some free-tier is also available. You can make your account in AWS for free and can use free-tier facilities as per their terms and conditions. You can create your free account by using below link
https://aws.amazon.com/free
Also Read: How to launch Linux Virtual Machine on AWS
&& How to Install ubuntu virtual machine on VirtualBox
Now let’s see how we can launch a Windows Server Instance in AWS
Login to your AWS account by providing the below details.

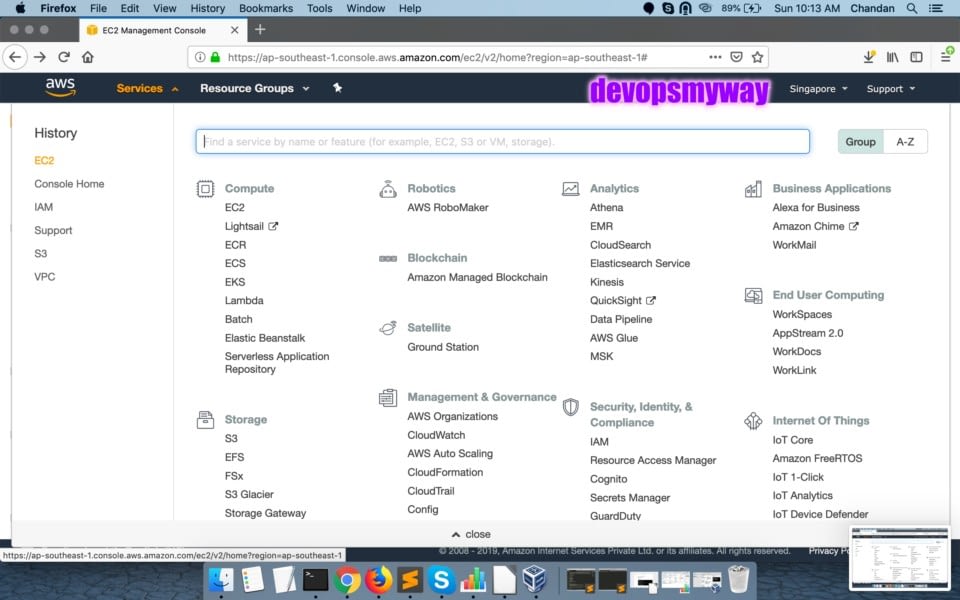
Once logged in, click on the Services button in the top-right corner, you will able to see multiple services provided by AWS.
Click on EC2 ( EC2- Stands for Elastic Compute Cloud, is a service that allows you to create Virtual Machine in AWS Infrastructure.)
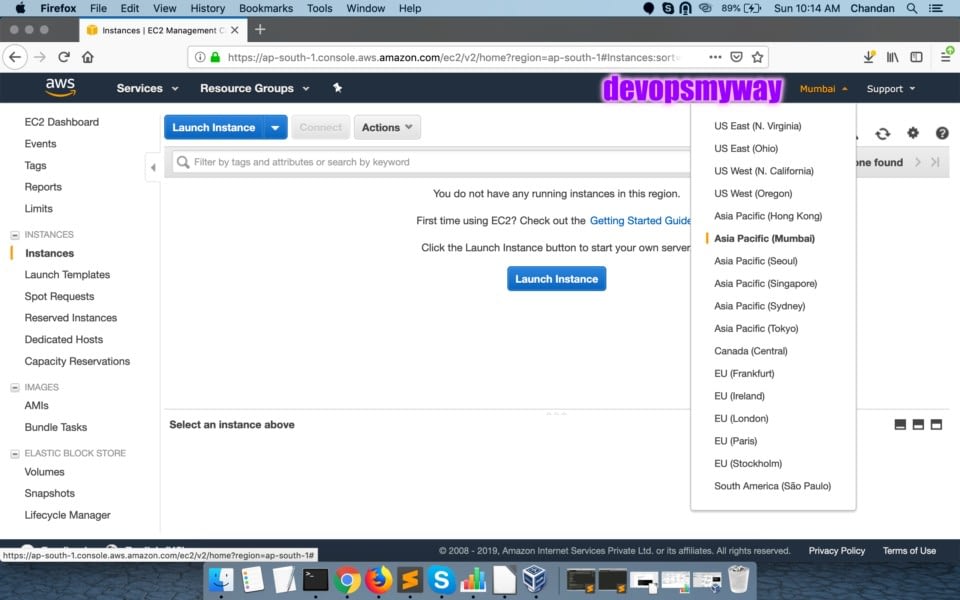
On the top left Corner, you will able to see Zones, there you need to click the Zone. Choose your preferred Zone where you want to launch your Windows Server Virtual Machine.
In our case, I have selected Mumbai.
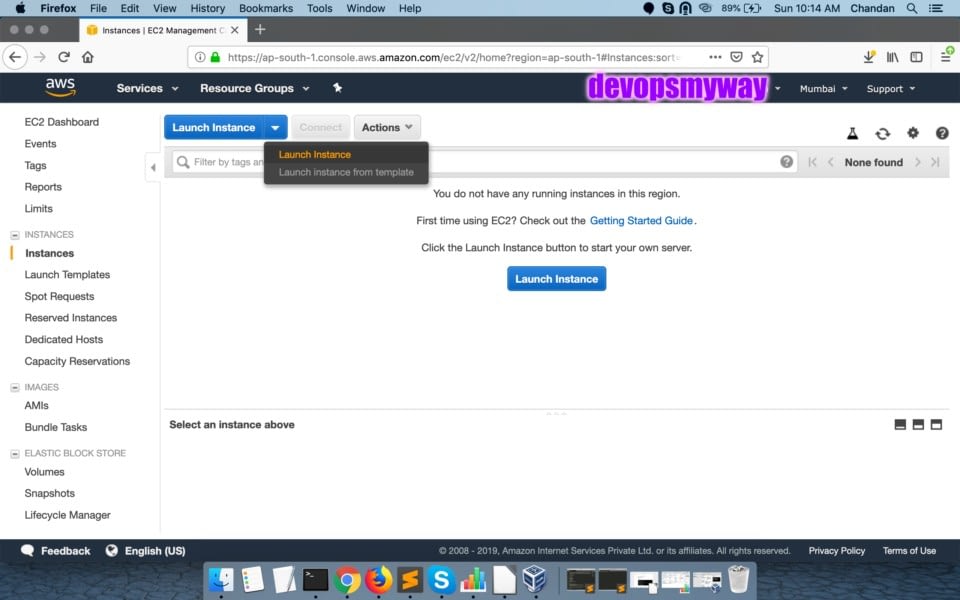
On the left menus, select ” Instances” and then click on “Launch Instance”
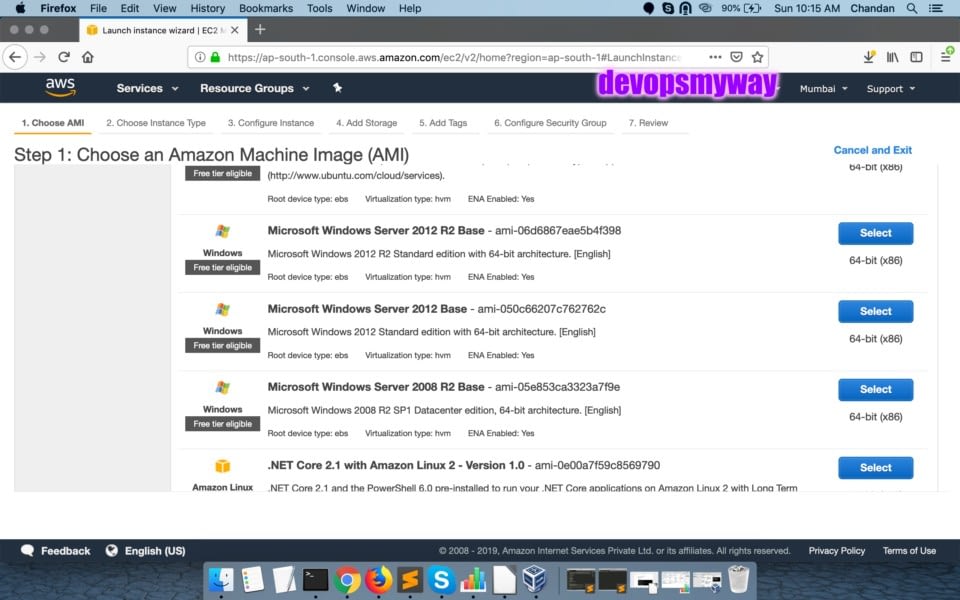
Now from the left menus, click on “Free Tier Only”
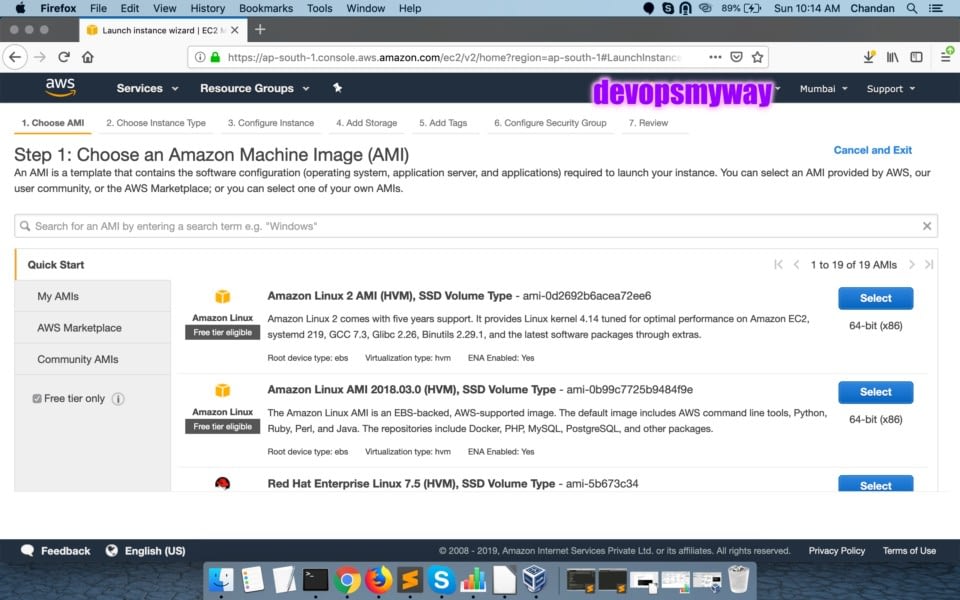
Chose the Operating System that you want to Install, In our case, I have chosen Windows Server 2012 R2 Base.
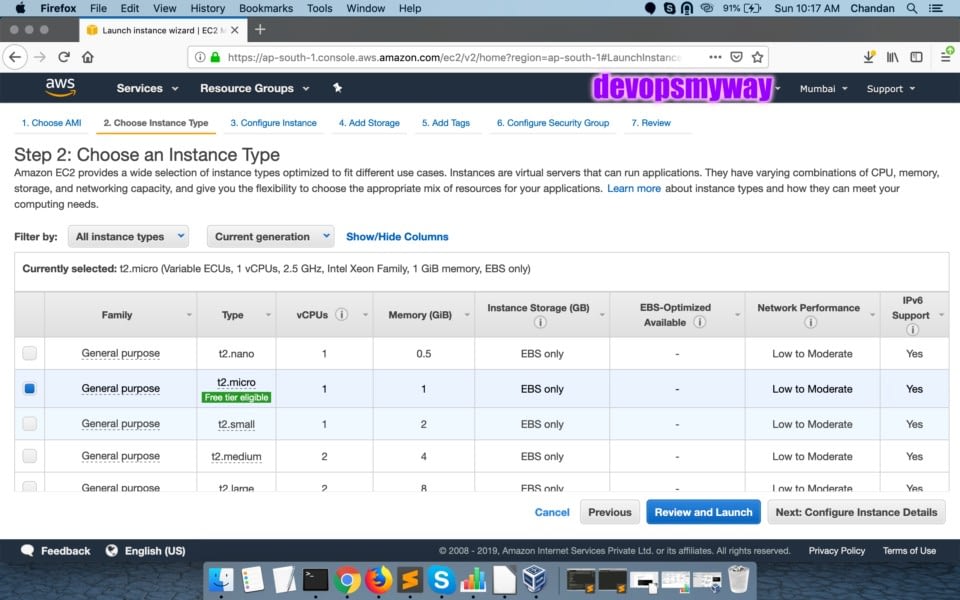
Now Choose the Instance Type, I have selected t2.micro free tier.
Instance type provides hardware information about your instance, you can learn about instance type and their costs in the below link. We are using free-tier, so no need to worry about it if we use this instance as per free-tier use as per AWS.
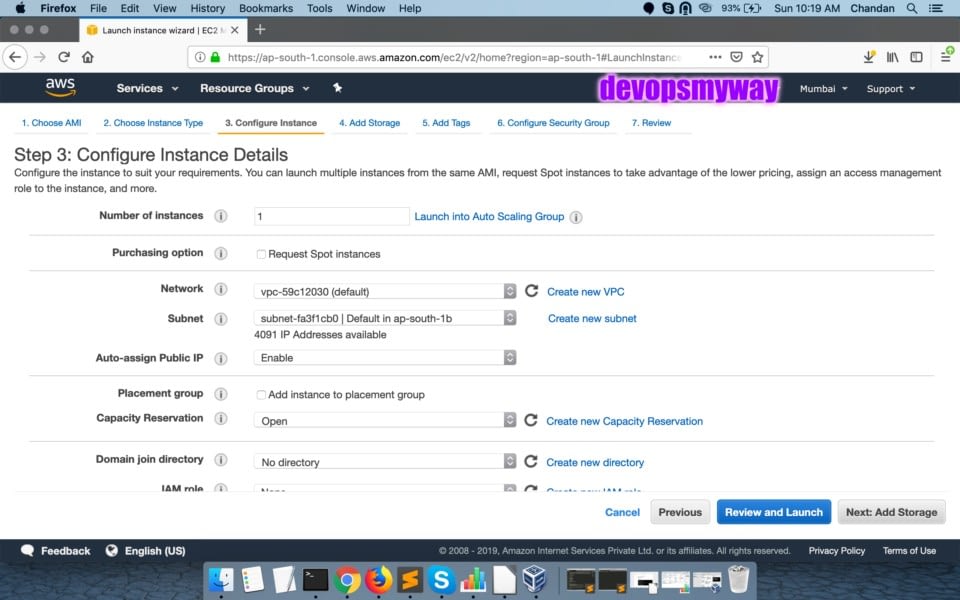
Click on Next: Configure Instance Details
Choose your VPC and Subnet.
VPC is Virtual Private Cloud within this all your Subnets can communicate.
Please also Select “Enable” for ‘Auto Assign Public IP”. This will assign a Public IP to your instance so that you can publically access your Windows Server.
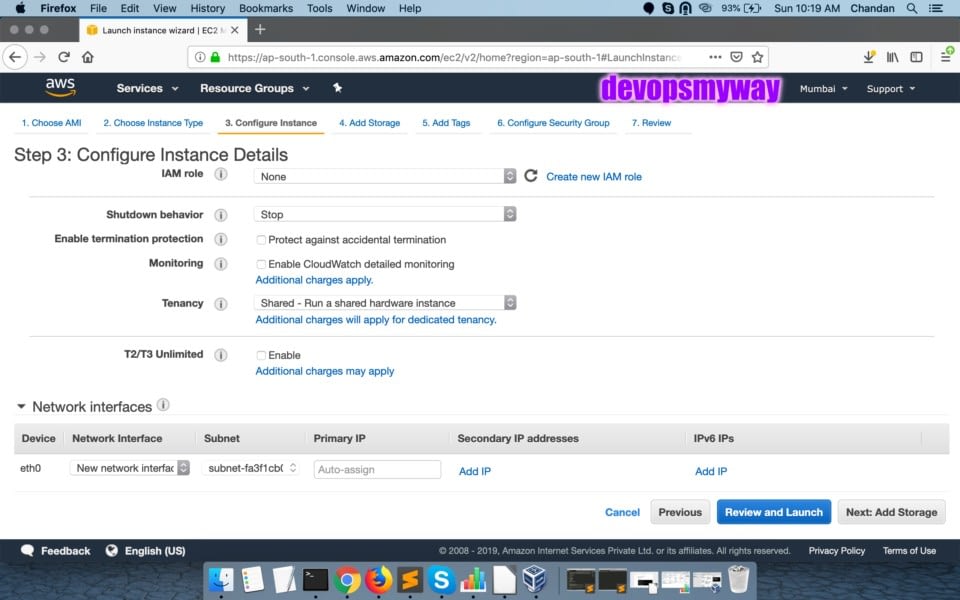
Scroll down and keep all settings default for now. We will discuss all other features in my next blog.
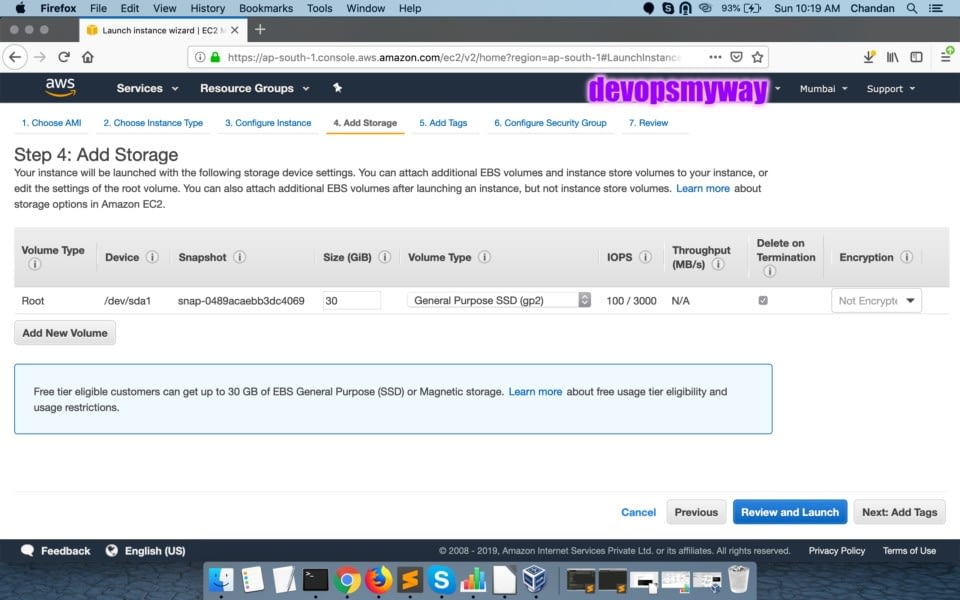
Now click on Next: Add Storage
Here make sure that Delete on Termination is clicked.
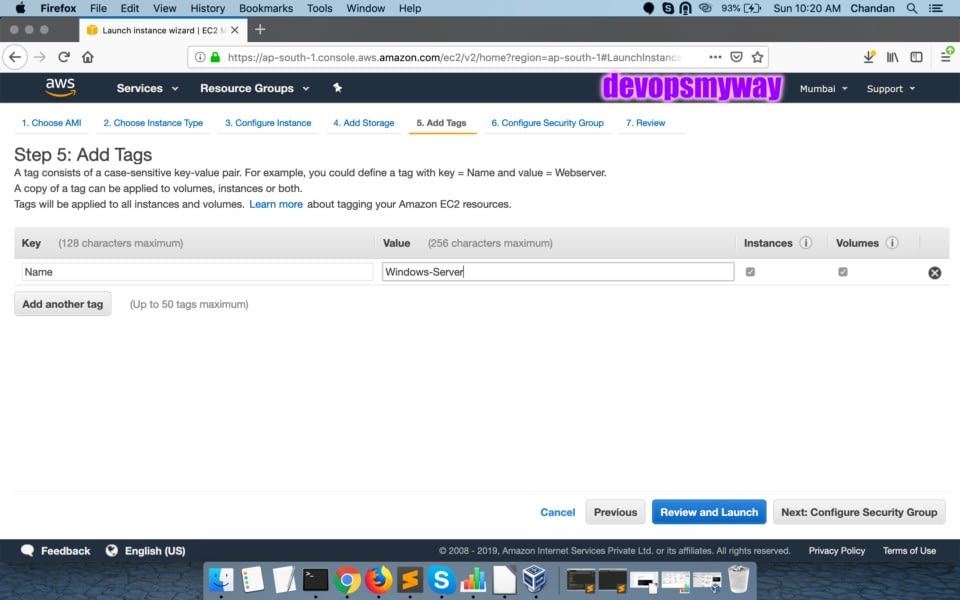
Now click on Next: Add Tags
Click on the “Add Tag” button and type “Name” in the Key tab and your Server name ” Window-Server” in the Value tab.
Click on Next: Configure Security Group
Here you can see and create a security group for your Instance, I am creating a security Group Namely “launch-Wizard-1” allowing RDP access for my own Public IP.
If you will click on Anywhere it will be accessible from anywhere in the world.
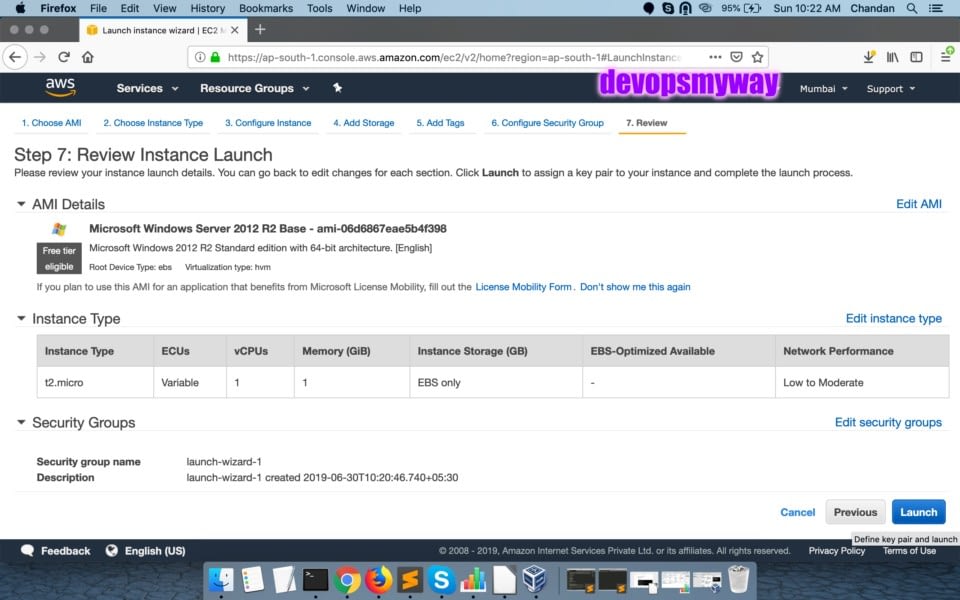
Now click on “Review and Launch”
In this Window, you will be able to review your settings and once reviewed, click on the launch button.
In this window, you will be asked to create a key-pair to access your Windows Server.
Select for Create a new key pair and put the key pair name and download it.
Make sure to keep this key pair with you safety else you will not be able to access your Server anymore.
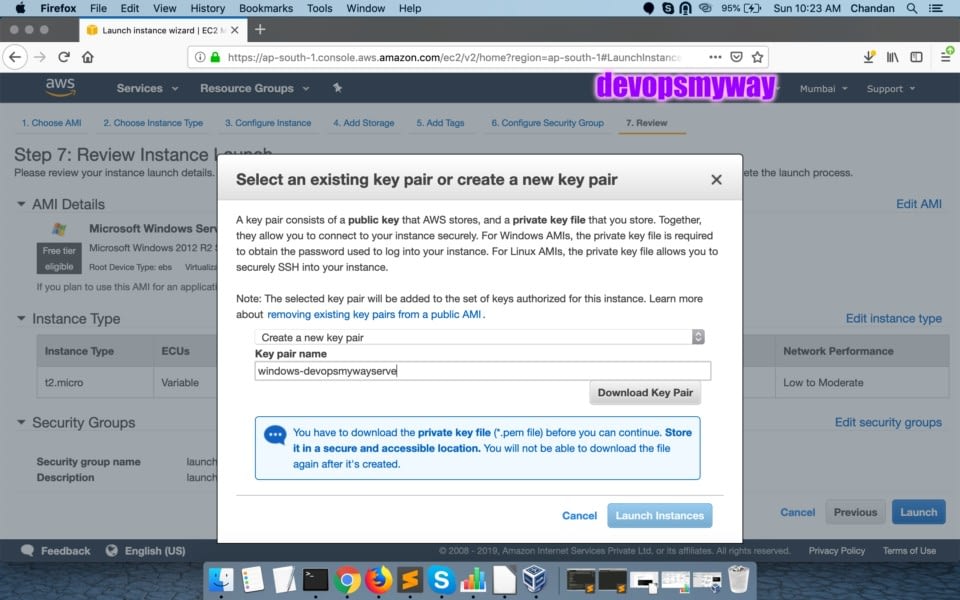
Once Keypair is downloaded, click on Launch Instances to launch your Windows Server.
Hope you have enjoyed this blog and learned How to launch Windows VM on AWS. please feel free to give your comment or ask any question for any doubt.
If you think we have helped you or just want to support us, please consider these:-
Connect to us: Facebook | Twitter

Redmi Note 8 (Moonlight White, 4GB RAM, 64GB Storage)
 (91017)


Nice one lots of learning about devopps.
New learning experience
Nice article, it helped me a lot.